
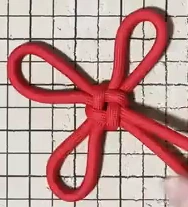
3D tutorial workshop
See the finished knot first. Follow each movement, turn the cord to inspect the crossings, then watch the centre tighten into shape.
What would you like to make?
Choose a finished knot, then follow its cord.
Wan Zi Knot 万字结(总角结)
One continuous cord, folded at the top. Red and gold mark its two halves, not separate cords.
Drag to turn · Scroll or pinch to zoom
Focused view: arrow keys turn, + / − zoom.
Look between the strands, then bring the layers back together.
The centre gathers as the ears settle into the finished outline.
The finished project
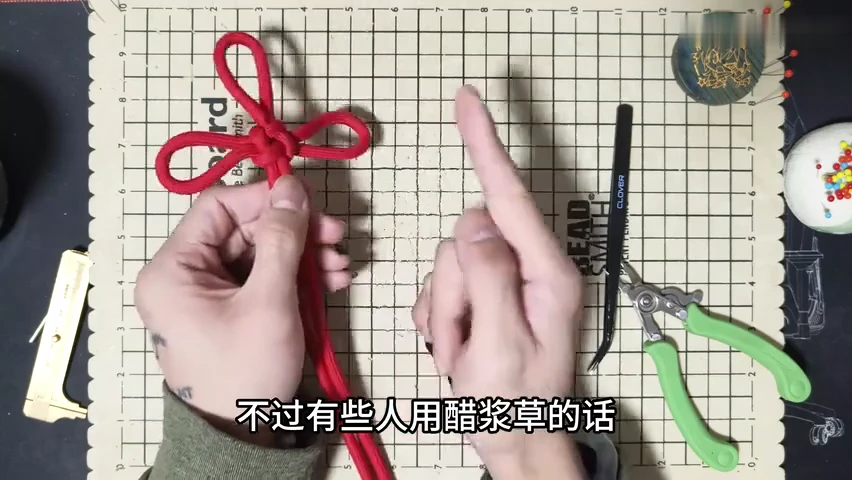
The finished knot from this lesson
See the result. Then make it.
Turn the finished knot to see its shape. Start the lesson when you are ready to follow the first fold.
Check
Compare with the real movement
 Open this step in the video lesson
Your knot has taken shape.
Compare both faces and the size of the loops with the real example. Use the filmed demonstration for the small hand adjustments that finish your own cord.
Materials & all 9 steps
Before you start
- One flexible knotting cord. The source uses red cord; no exact length is specified.
- A pinnable board and a few pins.
- A pointed tool; small pliers help move slack through the centre.
Follow the 3D key poses alongside the filmed demonstration. The tightening animation shows the changing shape; your cord still needs gradual, hands-on adjustment.
Make it in cord. Make it your own.
Explore all 20 finished pieces →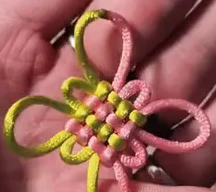
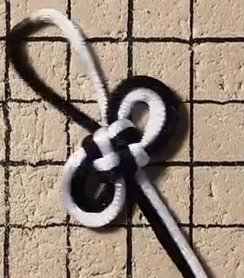
Learn the knots. Make them your own.
All 18 foundation lessons →Real cord demonstrations, close-up step images and a slower playback option. Start with one knot, then practice its crossings. Prepare your cord or plan a Chinese knot bracelet.
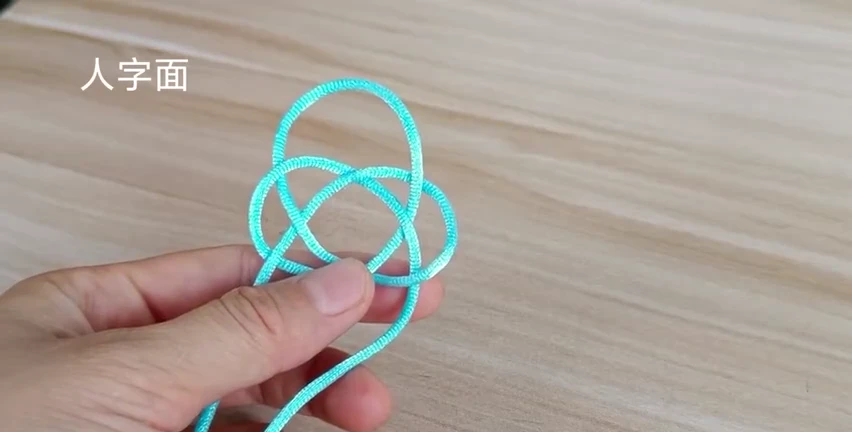
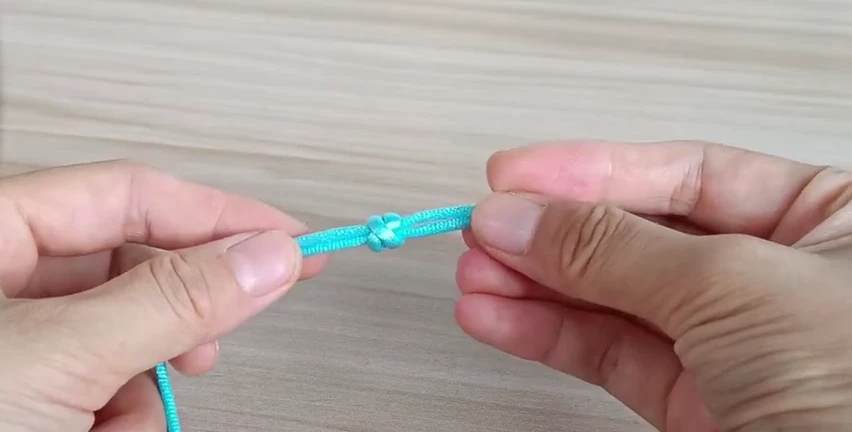
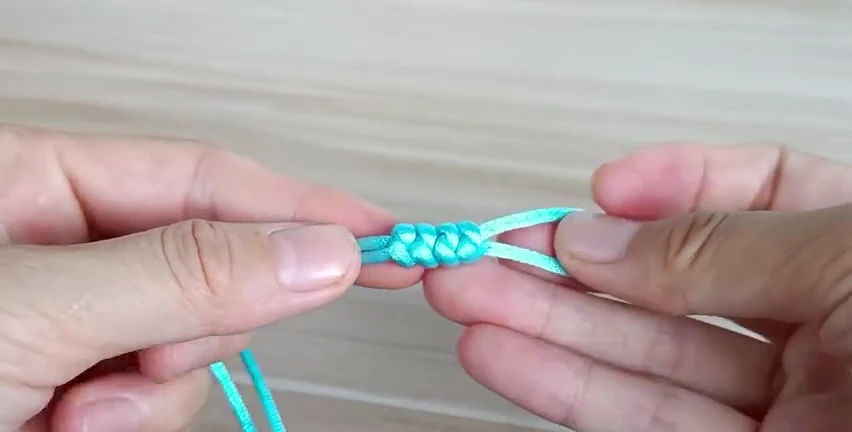
A shape with a story.
Explore the connections in an interlaced shape, the warmth of festive red and the wishes an ornament can carry.
Read the meaning guides →
The same piece, on your work table.
All 20 finished tutorials have matching A4 and US Letter worksheets. Keep the finished reference beside your cord and record the colors and proportions that work for you.
Choose your worksheet →A few useful answers
Before you begin
How does the 3D tutorial workshop work?
Choose one of five finished knots, inspect the result, then start its tutorial. Follow the key poses with Next step, rotate and zoom, separate the crossing layers and trace the cord. The last step animates the tightening and lets you replay or control its progress.
Which knots have 3D tutorials?
Wan Zi, Two-Return Pan Chang, Sash, Cao Hua and Zao Jing. All five have real video references. The other finished projects have complete video lessons, English subtitles and illustrated checkpoints.
What can I build in the DIY designer?
Combine 18 basic knot elements with five tassel styles, then arrange the parts into your own ornament. The tutorials teach the actual cord route; the designer helps you plan a composition.
What can I customize and download?
Add and arrange basic knot elements, choose a tassel style, change colors and proportions, and write a personal greeting. Download PNG, transparent PNG or SVG without an account.
What is included in a worksheet?
Every finished tutorial has A4 and US Letter worksheets with a real finished reference, materials, a 50 mm print check and space for measurements and notes. They are reference sheets, not full-size pin layouts.